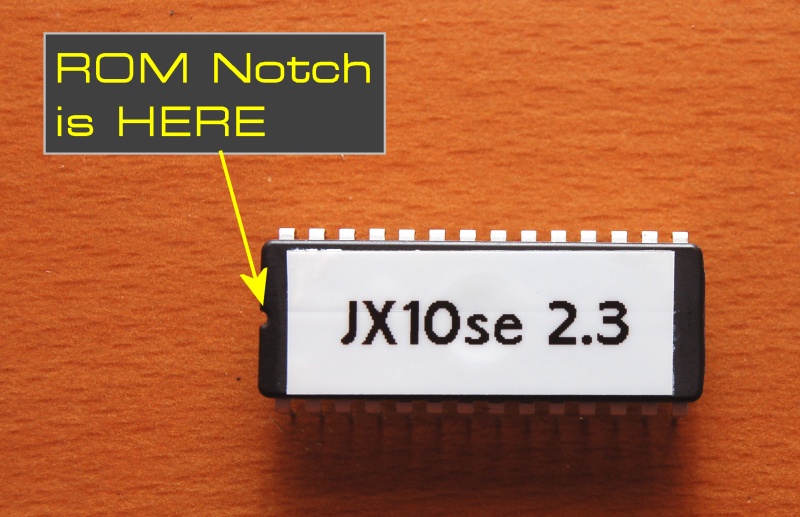
Very Important: Installing an EPROM the wrong will round will KILL the EPROM. Make certain that the notch in the end of the EPROM matches up with the notch in the socket BEFORE you turn the JX back on !
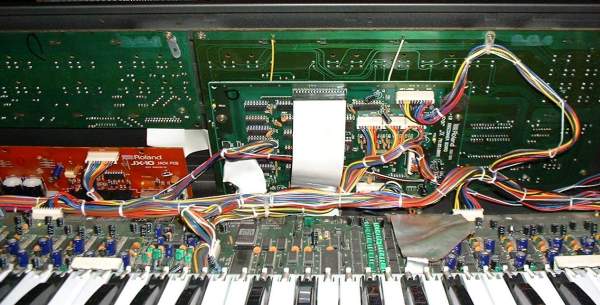
Like most Roland synths, the JX10 is really easy to work on thanks to a hinged top panel.
To open the lid you need to remove three screws from each end cheek of the JX, then another two larger bolts from underneath, which are located about 3 or 4 inches in from the left hand end.
Once these screws are removed, the lid of the JX should easily lift like the bonnet / hood of a car.
This will be the point where you realise you didn't just get the 76 note keyboard because Roland were being generous - they couldn't have fitted the electronics in without it...
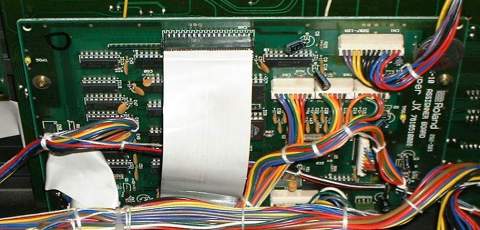
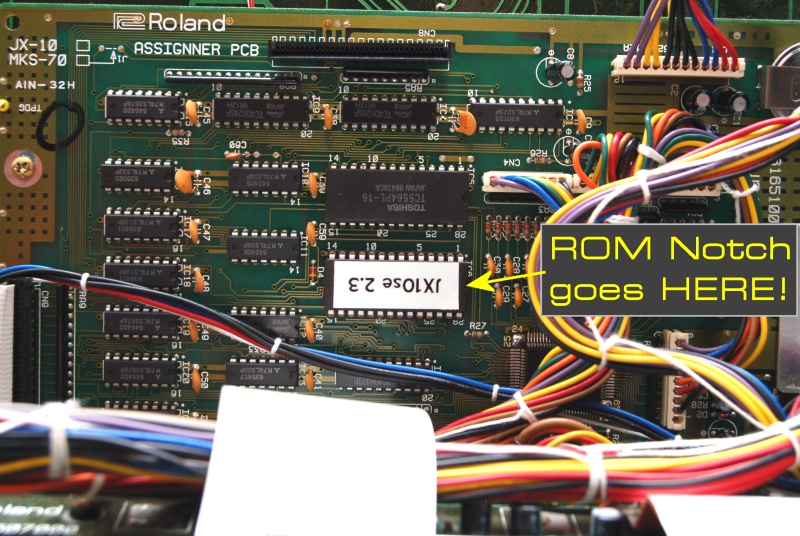
The original Roland ROM will probably have a model and version number sticker over the window.
Remove the ROM by gently prying each end up from the socket a little bit at a time, using a small flat blade screwdriver, and without unduly bending the pins.
Then, insert the newly programmed JX10SE ROM in it's place.
Here is the ROM, with the notch indicated:
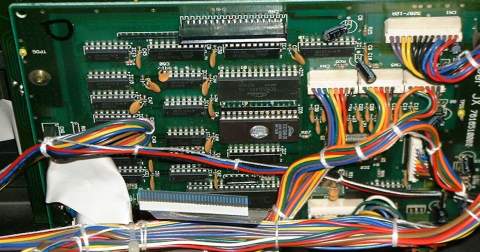
Here is the socket on the assigner board, with the socket notch indicated:
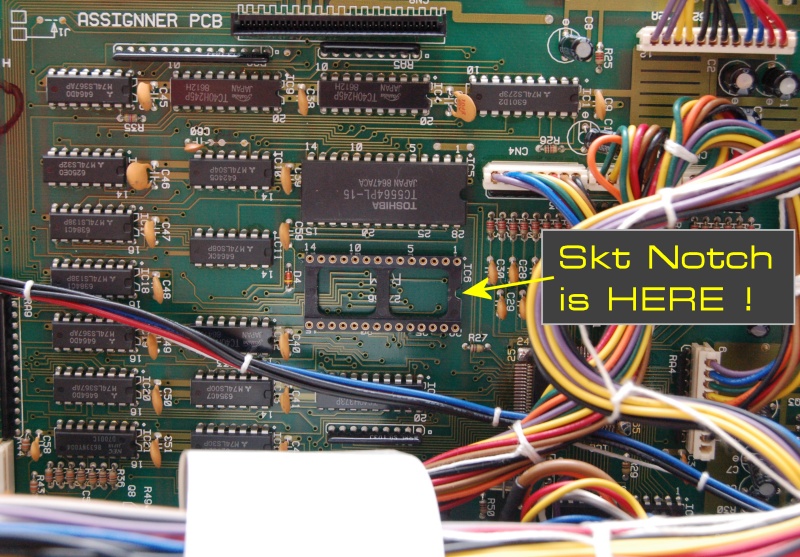
Fit the ROM into the socket, being careful not to bend any legs, making ABSOLUTELY SURE the NOTCH IN THE ROM IS AT THE SAME END AS THE NOTCH IN THE SOCKET:
Re-fit the mylar cable, close the lid, and try out the synth to make sure it boots up OK before you put the screws back in.
That should be it, until next time...
